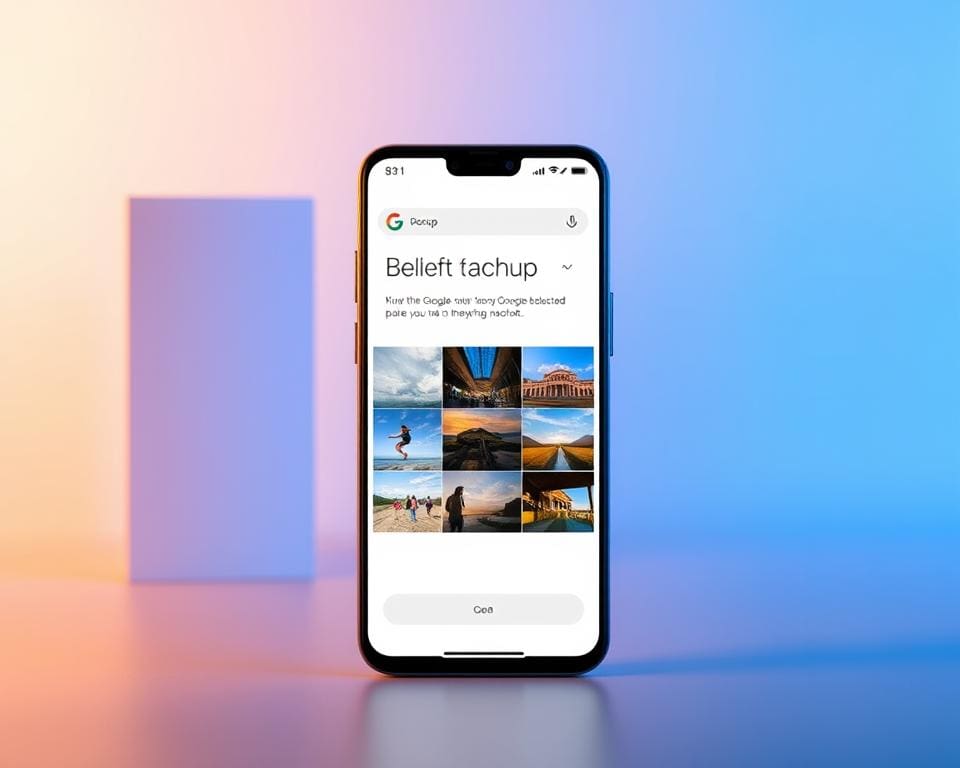
In an era where our digital memories fill up cloud storage at an astonishing rate, knowing how to remove photos from Google Backup is essential. Proper digital organisation not only enhances your online experience but ensures that your cherished memories remain easily accessible. This article aims to guide you through practical steps to delete photos from Google Backup, delve into the functioning of Google Backup, and prepare you for any challenges you might encounter while erasing images from Google Backup. Embark on this journey to regain control over your digital gallery and streamline your photo collection.
Understanding Google Backup for Photos
As digital photographs fill our devices, understanding how to secure these precious memories becomes vital. Google Backup emerges as a powerful tool in this context, offering a reliable method to store images in the cloud. Familiarising oneself with its functionality can equip users with the knowledge required to manage their photo library effectively.
What is Google Backup?
Google Backup is a service provided by Google that enables users to automatically upload and store photos and videos from their devices. This service ensures that your images remain safe, accessible, and organised, allowing for seamless retrieval whenever needed. With Google Backup, the risk of losing invaluable memories due to device failure diminishes significantly.
How Does Google Backup Work?
The process is straightforward. Once configured, Google Backup automatically synchronises your photo library by uploading images from various devices directly to Google Drive. This seamless integration means that any new photo taken on your smartphone or tablet can be backed up instantaneously. Users can access these images from any device with internet connectivity, ensuring flexibility and convenience.
Benefits of Using Google Backup for Your Images
Understanding the benefits of Google Backup transforms how individuals approach photo storage. Key advantages include:
- Accessibility from any device, allowing you to view and download photos wherever you are.
- Generous storage space, freeing up room on your smartphone or tablet.
- Automatic photo enhancements offered by Google Photos, improving the quality of your images effortlessly.
Arming yourself with this knowledge fosters the confidence to explore how to delete Google Backup photos when necessary, streamlining your digital storage experience.

How To Remove Photos From Google Backup
Deleting photos from Google Backup can seem daunting, yet it is a straightforward process if you follow the correct steps. Knowing how to efficiently get rid of Google Backup pictures requires a clear understanding of what to do and common pitfalls to avoid. This section offers a detailed approach to streamline the deletion process and highlights alternative storage options for your photos.
Steps for Deleting Photos from Google Backup
- Open the Google Photos app or website on your device.
- Navigate to the “Photos” tab to view all your images.
- Select the photos you wish to delete by tapping on them.
- Look for the trash can icon and click it to initiate deletion.
- Confirm your decision to delete photos from Google Backup when prompted.
Common Mistakes to Avoid While Removing Photos
- Accidentally selecting important images for deletion that you wish to keep.
- Failing to verify that the backup of selected images is complete before proceeding.
- Not checking other folders where those photos may reside, leading to incomplete deletion.
- Not having a separate backup of your images before starting the deletion process.
Alternative Options for Storing Your Photos
If you choose to delete photos from Google Backup, consider alternative storage solutions to keep your memories safe. Options include external hard drives and other cloud services that offer greater flexibility and security. Exploring different avenues to store your photos ensures a comprehensive approach to safeguarding your cherished images.
Erasing Images from Google Backup: A Step-by-Step Guide
Managing your digital memories often involves the need to remove unwanted images. Whether you wish to streamline your Google Backup or simply get rid of duplicates, learning how to erase images from Google Backup is vital. This guide provides a straightforward approach to ensuring that you can delete Google Backup photos with confidence.
Accessing Your Google Backup Settings
To start the process of erasing images from Google Backup, navigate to your Google account settings. Open the Google Photos app or visit the website and sign in. Locate the ‘Backup’ tab, which allows you to view all your backed-up images. Understanding this interface will give you the clarity needed for your next steps.
Selecting Photos for Deletion
With your Google Backup settings open, you can begin selecting photos for deletion. Browse through your albums or use the search function to locate specific images. For each photo you want to eliminate, simply tap or click on it to mark it for deletion. This step is crucial for ensuring that you’re only removing the photos you no longer wish to have stored.
Finalising the Deletion Process
After selecting the desired images, it’s time to finalise the deletion process. Look for the trash icon or ‘Delete’ option, and confirm your choice. Google will typically allow you to review recently deleted photos, providing an opportunity to rectify any mistakes. This ensures that no unintentional removals have taken place, allowing you to manage your storage effectively.
Eliminating Pictures from Google Backup on Mobile Devices
With the increasing reliance on smartphones to capture precious moments, knowing how to clear Google Backup photos becomes essential. Whether you’re an Android or an iOS user, effectively managing your photos ensures that your device remains clutter-free. This section offers guidance on how to remove photos Google Backup effortlessly, empowering users to regain control over their digital spaces.
How to Clear Google Backup Photos on Android
For Android users, the process of eliminating pictures from Google Backup is straightforward. Follow these steps:
- Open the Google Photos app.
- Tap on the ‘Photos’ tab at the bottom to view all your uploaded images.
- Select the photos you wish to remove. You can tap and hold to choose multiple images.
- Once selected, tap the ‘Trash’ icon to delete your chosen photos.
- Confirm the deletion to remove photos Google Backup permanently.
This method quickly clears up space and ensures that your Google Backup reflects only the images you want to keep.
Removing Photos from Google Backup on iOS
iPhone users can find the process of managing their Google Backup easily accessible. To remove photos, follow these steps:
- Download and open the Google Photos app from the App Store.
- Sign in to your Google account, if prompted.
- Navigate to ‘Photos’ to see your backed-up images.
- Tap ‘Select’ in the upper right corner to choose photos for removal.
- Press the ‘Trash’ icon and confirm to eliminate pictures from Google Backup.
Utilising these steps helps ensure that your backup remains current and relevant without unnecessary images taking up space.
Troubleshooting Issues While Deleting Google Backup Photos
When attempting to delete Google Backup photos, users may occasionally face various challenges, which can lead to frustrations. Common issues include connectivity problems, difficulties accessing Google Drive, and the inadvertent restoration of deleted images. It is essential to address these troubleshooting Google Backup issues to ensure a seamless experience when managing your digital memories.
To begin with, always check your network connection, as a stable Internet connection is vital for successfully completing the deletion process. If there are issues accessing Google Drive, try restarting your device or logging out and back into your Google account. Furthermore, ensure that you have the latest version of the Google Photos app installed, as updates often fix existing bugs and enhance performance.
Finally, verify that all your deletion actions have been processed correctly. It may take some time for changes to reflect across your devices due to syncing. Being mindful of these aspects can greatly reduce the hassle of deleting Google Backup photos, allowing you to focus on what truly matters—preserving your cherished moments without unnecessary stress.


