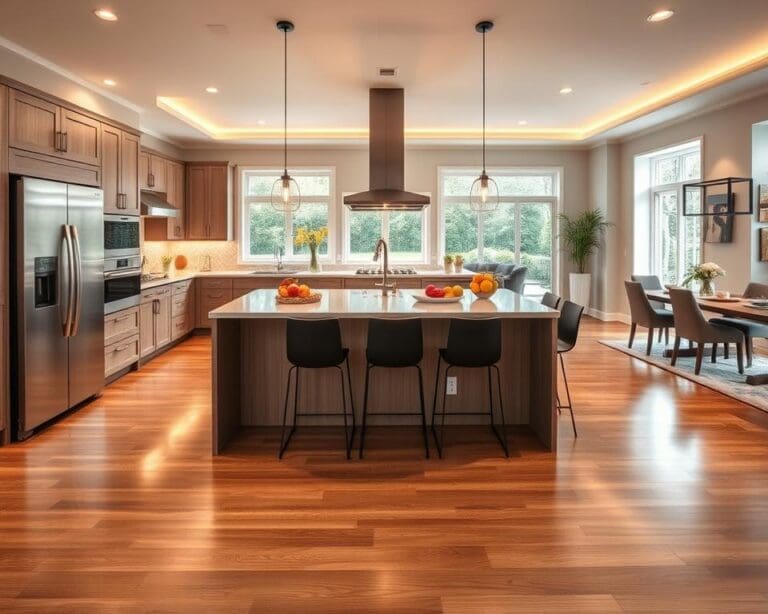
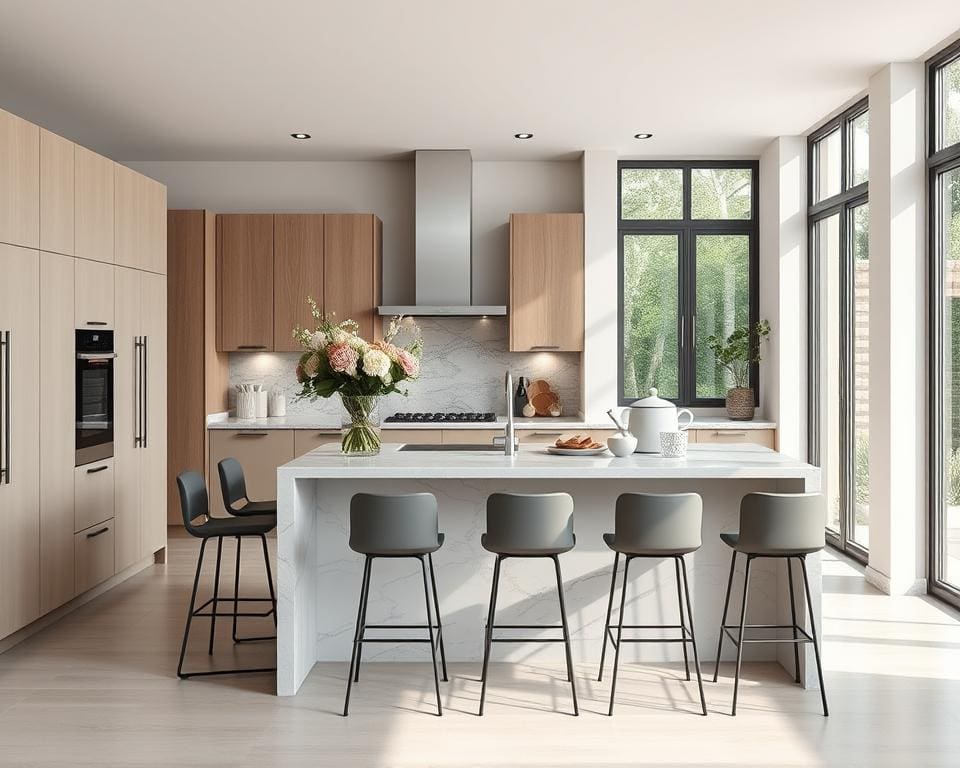
Choosing a kitchen island is about more than style; it’s about how your kitchen works for you. The right kitchen island can add worktop space for cooking, extra storage, integrated appliances and casual seating, turning a kitchen into a social hub for family and guests.
In the UK, islands are particularly popular in open-plan homes and larger apartments where space allows. Even in smaller city kitchens you’ll find compact, mobile or peninsula options that bring the benefits of a full island without overwhelming the room.
This article will guide you through the key decision points when choosing a kitchen island: measuring your space and planning clearances, understanding how you use the kitchen, budgeting and long-term value, and matching layout, style and materials to your home.
We’ll also cover practical features and maintenance, plus where to research options. Visit showrooms at John Lewis & Partners, B&Q, Ikea or Neptune, or consult independent kitchen designers to test heights and explore kitchen island ideas in person.
Note on installation: minor mobile islands usually require no permissions, but any work involving plumbing, electrics or gas should be done by qualified tradespeople and may need building regulation compliance for safety and long-term value.
Assessing your kitchen and lifestyle for the ideal kitchen island
Start by measuring your space and thinking about how you use the room. Accurate kitchen island measurements make the difference between a practical feature and a cramped obstacle. Aim for at least 1 metre circulation on all sides, with 1.2–1.5 m preferred where possible. In smaller rooms a minimum of 900 mm between the island and the run will keep door and drawer swing usable.
Typical island sizes vary by need. Worktop depths commonly sit between 600 mm and 900 mm. Lengths range from about 1.2 m for compact islands up to 3 m for larger installations. Standard heights are 900 mm for prep surfaces and 1050–1100 mm for raised breakfast bars. Check appliance service access, routing for water and electrics, and whether dishwasher or oven doors clear comfortably before you commit.
Measuring your space and planning clearances
When you carry out kitchen island planning, mark out the footprint on the floor with tape. Open every drawer and door you plan to include to test kitchen island clearances. Measure for appliance service access and consider where plumbing and electrics will run. Small changes at this stage save time and cost later.
Understanding how you use your kitchen: cooking, entertaining, family hub
Decide your primary uses. If you cook often, place the hob and sink close to your prep zone. If you entertain, create seating and clear sightlines. If the kitchen doubles as a family hub, favour durable worktops and generous storage. Maintain the classic work triangle where you can, or position the island to improve workflow rather than interrupt it.
Mixed-use islands work well. Zone areas for prep, cooking and seating by using varied depths and overhangs. This keeps cooking zones separate from social spaces while keeping everything within reach.
Budget considerations and long-term value
Budget affects every choice. Mobile islands and ready-made units tend to cost least. Bespoke fitted islands and integrated appliances sit at the higher end, with luxury materials and joinery reaching premium prices. Think about return on investment. A well-specified island with quality worktops such as quartz or granite and integrated appliances can add appeal and longevity.
Costs hinge on worktop material, cabinet quality, plumbing and electrical work, and installation labour. Get several quotes from suppliers and tradespeople and include a 10–20% contingency for unforeseen issues. Use budgeting tools like the Renovation Budget Calculator and online quote tools to estimate costs and track spending by visiting a renovation cost guide.
Working with your home’s layout: open-plan, galley, or traditional kitchens
Match your island to your kitchen layout. In an island for open-plan kitchen, use the unit as a visual separator and social hub. Consider double-sided design with storage one side and seating the other. Plan extractors and noise levels for any hob installed on the island.
In galley kitchens, pick slim or mobile islands and peninsulas to protect kitchen island clearances. Consider freestanding trolleys or fold-down surfaces as alternatives. In traditional or closed kitchens, introduce an island only if space allows. If not, a peninsula or extended cabinetry may work better. For listed or period homes choose sympathetic proportions and materials.
Styles, materials and finishes to match your home and taste
Choosing a kitchen island combines practical choices with decorative flair. Start by thinking about how you use the space and which elements will stand up to daily life. Below you’ll find clear options for island styles, island worktop materials, kitchen island finishes and care tips to help you decide.
Island styles
Freestanding islands give you access on all sides and work best in larger kitchens. They feel substantial and can be bespoke to your needs. A peninsula attaches at one end to cabinetry or a wall and helps define an open-plan area without losing flow.
Mobile islands and trolleys suit renters and small kitchens because they add prep surface and storage, then roll away when you need floor space. Built-in islands from makers such as Harvey Jones, Smallbone or Howdens integrate appliances and storage for maximum function, though they come with a higher price tag.
Worktop materials
Quartz is engineered for low maintenance and a wide colour range; brands like Caesarstone and Silestone are common choices. Quartz resists stains and suits busy homes seeking a durable kitchen island.
Granite offers natural variation, heat resistance and a premium look, but it needs occasional sealing. Solid wood tops such as oak or walnut add warmth and work well where you want a tactile surface, though they need regular oiling. Laminate is cost-effective and available in many finishes, yet it is less heat resistant and can chip.
For specialist needs consider stainless steel for professional cooking or porcelain for high scratch and heat resistance. Match the island worktop materials to your routine and cleaning habits.
Cabinet finishes and colour choices
Cabinet doors can be painted, veneered or lacquered, and you can choose matt or handleless styles. Popular island colour ideas in the UK include deep blues, forest greens and warm greys. Two-tone islands that contrast with perimeter units give depth and a designer feel.
Test swatches in your own light before committing. Think about hardware finishes too; brass, brushed nickel and matte black can tie taps and appliances together. Consider how kitchen island finishes will show fingerprints and wear; textured finishes hide marks better than smooth matt lacquer.
Durability and maintenance
For families with children, pick materials that stand up to spills and knocks. Quartz or laminate often suit busy households, while avid cooks may prefer granite or stainless steel for heat resistance. Wood is attractive but needs ongoing care.
Seal natural stone as recommended by the manufacturer. Oil wooden tops monthly or quarterly depending on use. Clean quartz and laminates with mild detergent and avoid abrasive cleaners on all surfaces. Choose eased or bullnose edge profiles to reduce the risk of bumps and chips in active homes.
- Consider layout and circulation before choosing an island style.
- Balance aesthetic choices with the cleaning and maintenance you will commit to.
- Use real-life swatches and compare island worktop materials side by side.
Functionality and features to suit your daily routine
Choose features that match how you live. A practical island blends comfortable kitchen island seating with clever island storage ideas and built-in appliances. Thoughtful layout keeps cooking, cleaning and social time flowing without crowding work zones.
Seating and social zones
Plan an overhang that gives room for relaxed use. Aim for a minimum 300 mm overhang for stools, with 400–450 mm preferred for comfort. Allow about 600 mm width per person when you set out seating so guests have space.
Backless stools save space and suit compact layouts. Stools with backrests offer better support for longer stays. Consider a banquette or built-in bench for a cosy, permanent nook. Pick durable, wipeable upholstery if you have children or frequent spills.
Place seating to keep traffic clear and to separate little ones from hot worktops. That approach preserves safety while keeping the island a social hub.
Storage solutions
Use deep drawers for pots and pans with soft-close runners to prevent bangs. Add specialist inserts such as divider trays, spice racks and cutlery organisers for neatness.
Pull-out larders make good use of narrow gaps. Appliance garages hide kettles and toasters so counters look tidy. Think about end panels and vertical bookshelf details for cookbooks or display items.
Example layouts work well. A peninsula can have cupboards on the kitchen side and open shelving or seating on the other. Islands may include integrated recycling and bin pull-outs to keep surfaces clear and practical for daily life.
Integrated appliances
Plan service runs early. Island sinks need water and waste routing, while hobs require the correct gas or electrical supply and extractor ventilation. Dishwashers in islands demand drainage and an accessible service panel.
Induction hobs suit islands because they are safer and simplify ventilation. Look at pop-up downdraft extractors from trusted brands such as Bora and Miele if you want a sleek cooktop option.
Include charging solutions to reduce clutter. Pop-up sockets and integrated USB or wireless charging stations keep devices charged and worktops tidy, useful for busy households.
Multi-use designs for small spaces
For an island for small kitchen layouts, choose fold-away or extendable worktops and drop-leaf ends to add surface only when you need it. Pull-out chopping boards increase prep area without permanent bulk.
Consider islands on lockable castors for mobility or a multifunctional island that doubles as a dining table and desk. Seating with storage beneath gives extra capacity without extra footprint.
If you rent, portable islands and high-quality kitchen trolleys from John Lewis or Lakeland provide prep space and storage without permanent changes. They let you test configurations before committing to built-in solutions.
Practical considerations for installation and long-term use
Before installing a kitchen island, survey your room and produce accurate plans showing measurements, clearances and the position of existing services. Use a kitchen designer or request a measured survey from retailers such as Howdens or independent specialists for bespoke island work. Clear drawings help when obtaining quotes for kitchen island installation and when you consult a structural engineer for any alterations.
Get written quotes from qualified tradespeople for island electrics and plumbing, and ensure gas work is carried out by a Gas Safe registered engineer. Check building regulations for drainage, ventilation and electrical work, and confirm warranties and lead times for worktops, appliances and bespoke joinery. For island hobs, factor in ceiling-mounted or downdraft extraction and the extraction rates recommended by manufacturers.
Plan the installation logistics: flat-pack or off-the-shelf islands can be fitted in a day or two, while bespoke built-in islands with integrated services often take several weeks. Coordinate trades by block booking plumbers, electricians and carpenters, schedule deliveries to align with demolition, and allow time for adhesive and sealant cure. Secure heavy islands to the floor where needed and check the stability of overhangs to address island safety.
For long-term care, follow a regular kitchen island maintenance routine: seal or oil natural worktops, use appropriate cleaners for quartz or laminate, and service extractors and plumbing annually. Future-proof your layout by leaving conduits for extra power and choosing modular designs that adapt if you move. Finally, favour durable, locally made joinery and energy-efficient appliances, and arrange responsible disposal or take-back schemes when replacing an island.